Here are some whys and hows on using film with youth from guest blogger Rebekkah Adams!
Working on a video project in the classroom can seem like unwanted stress, but really it is the same as any other undertaking. At the most basic level, the process can be split into three phases: pre-production, production, and post-production. Each presents unique challenges both within the student body and with the project itself.
Pre-Production: Script or Treatment Phase
Every good project begins with a plan. While it’s important to allow students to create this themselves, it is usually beneficial to have some guidelines for them to follow before script or treatment phase. This can take many forms such as a mandated prop, a first line, a brief story idea, a documentary subject, or a genre. Regardless, while students often complain about the lack of freedom, typically having a framework to start helps rather than hurts creativity. Assigning roles at this stage is absolutely essential. No film will get made if every student is vying to be the director or star. Remind participants that it is often the writers and producers who have the most influence over a story.
Production: Equipment and Shooting
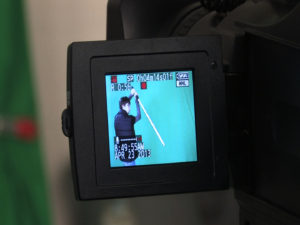
The type, budget, and level of production equipment will almost certainly guide the entire project. If digital cameras are available, ensure students have basic working knowledge of white balance, focus, and lighting. A film camera will take more work to learn and color is even trickier, so it’s often best to stick with black and white. While all of these equipment options work very well, modern phones can be used to shoot entire films. You have a lot less control but that means it’s harder to mess up. Regardless, the important thing is to allow students to explore and make the most of it. While the technical aspects are important, the story is what will draw audiences in.
Post-Production: Editing
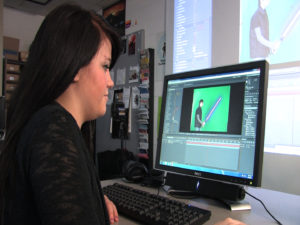
Oftentimes, the post phase takes longer for students than all the rest combined. You can do simple edits on your phone or even YouTube, but you’ll probably want to invest in editing software, like iMovie, Adobe Premiere, or Final Cut. However, they do require some study and take time to pick up. As with PowerPoint, avoid excessive use of flashy transitions or silly effects.
Video and film projects can be daunting, but with minor preparation will be a worthwhile experience for students and teachers alike. Remember to start with the basics and work from there, allowing the process to dictate the experience.
